Documentation
Everything you need to install, use, and get the most out of Nexus Negotiator — your AI negotiation coach for Gmail.
🚀Getting Started
Nexus Negotiator is a Chrome extension that works directly inside Gmail. Setup takes under 2 minutes — no API keys or configuration required.
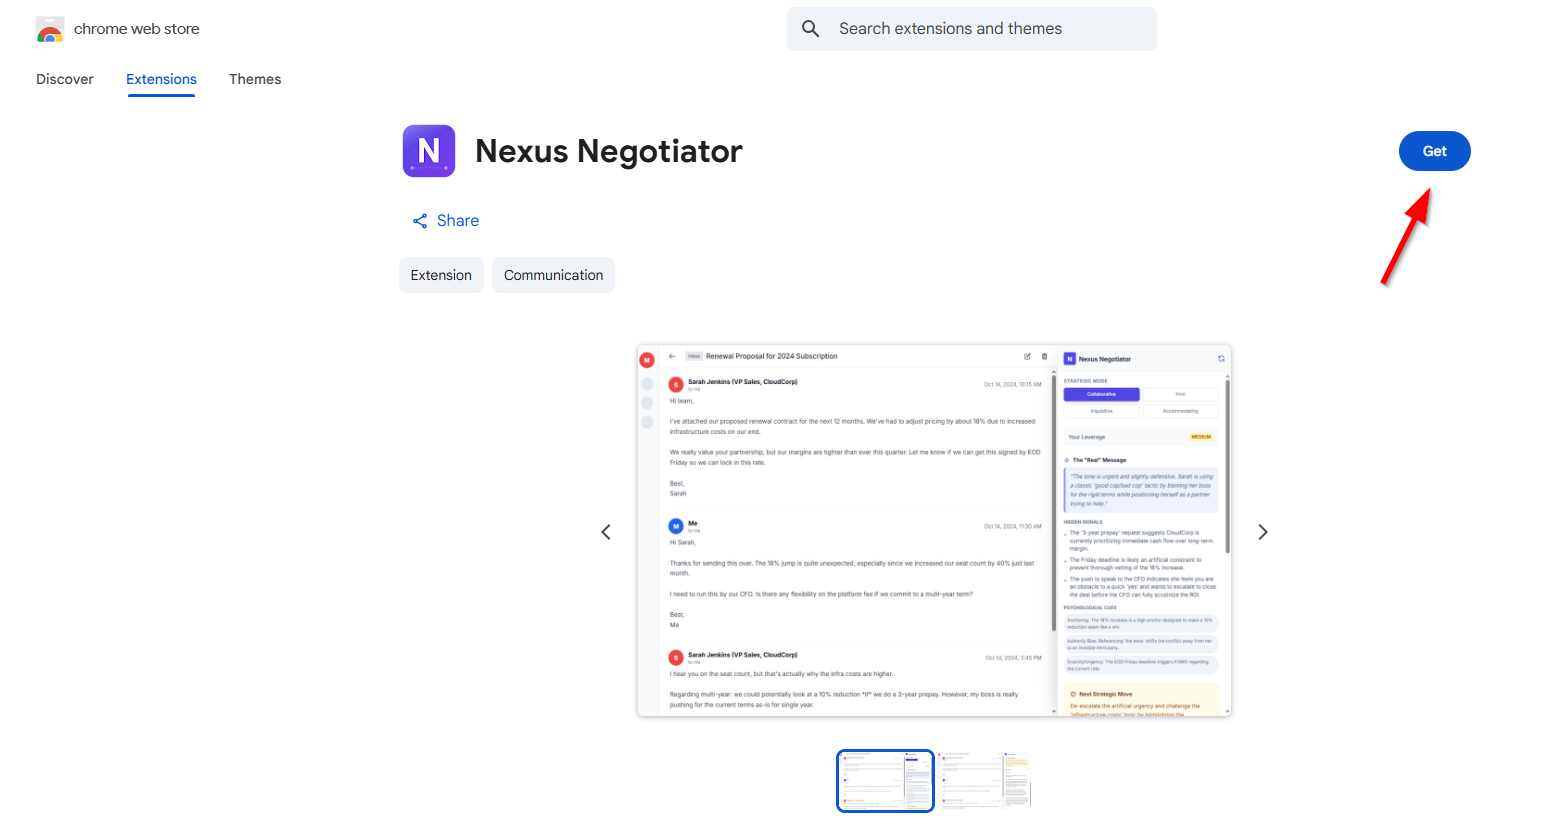
Install the Extension
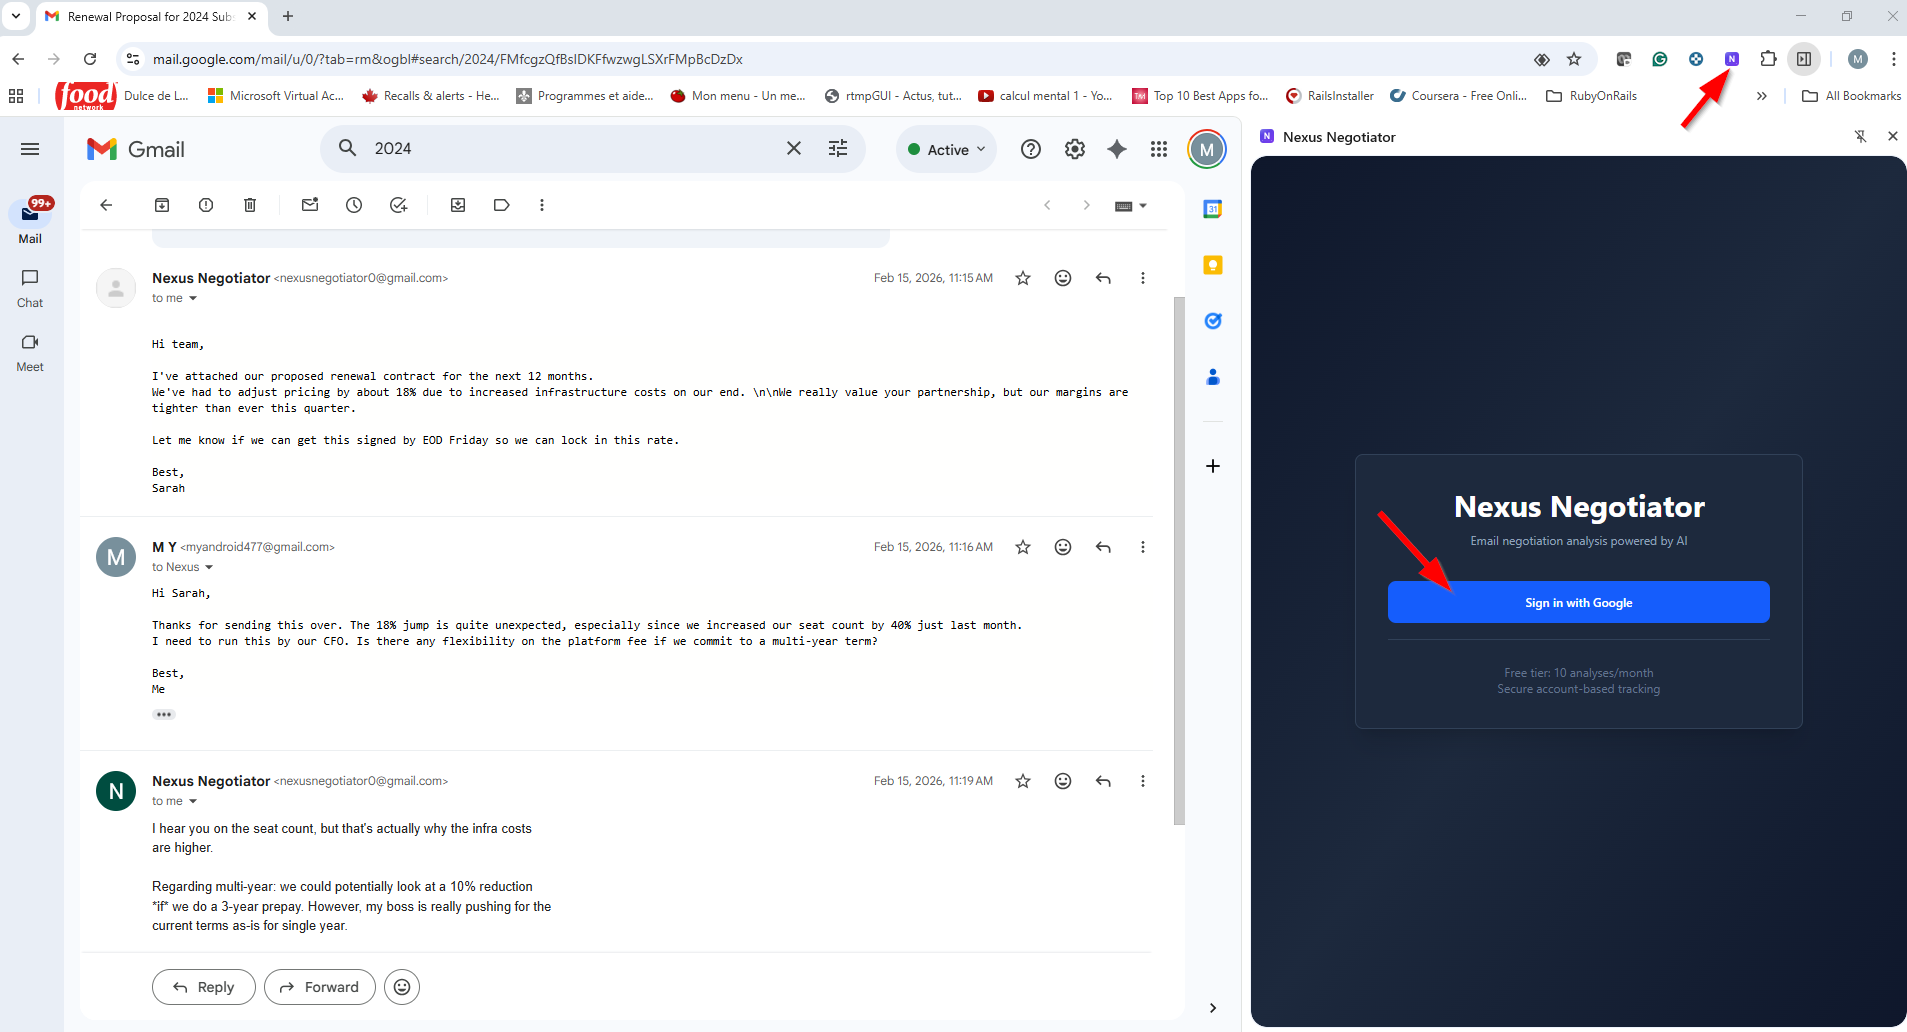
Sign In with Google
Open the Side Panel
After installation, Nexus Negotiator lives in Gmail's native side panel. You can open it in two ways:
- Click the Nexus Negotiator toolbar icon while Gmail is the active tab.
- Use the keyboard shortcut Alt+N (Windows/Linux) or ⌥N (Mac) when in Gmail.
🧠How to Use
Run Your First Analysis
Open any email thread in Gmail that you want coaching on — a salary negotiation, a sales deal, a vendor contract, or a job offer.
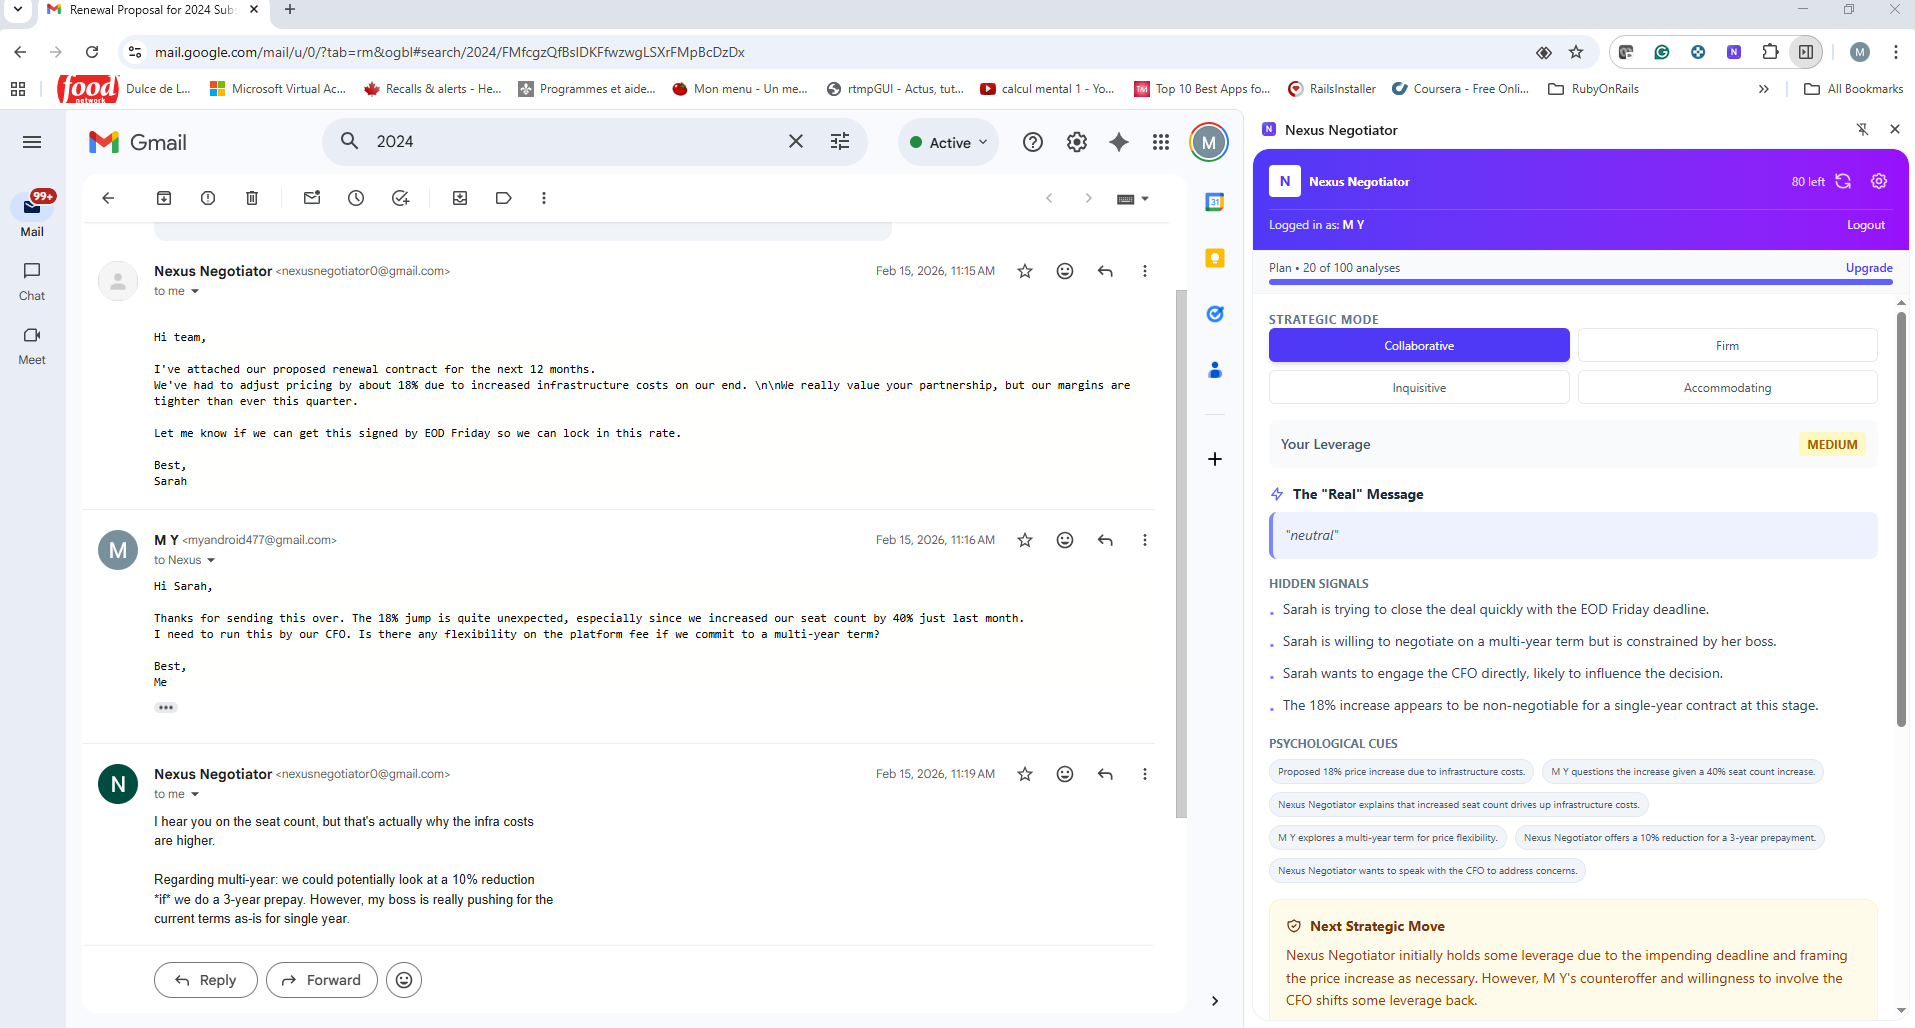
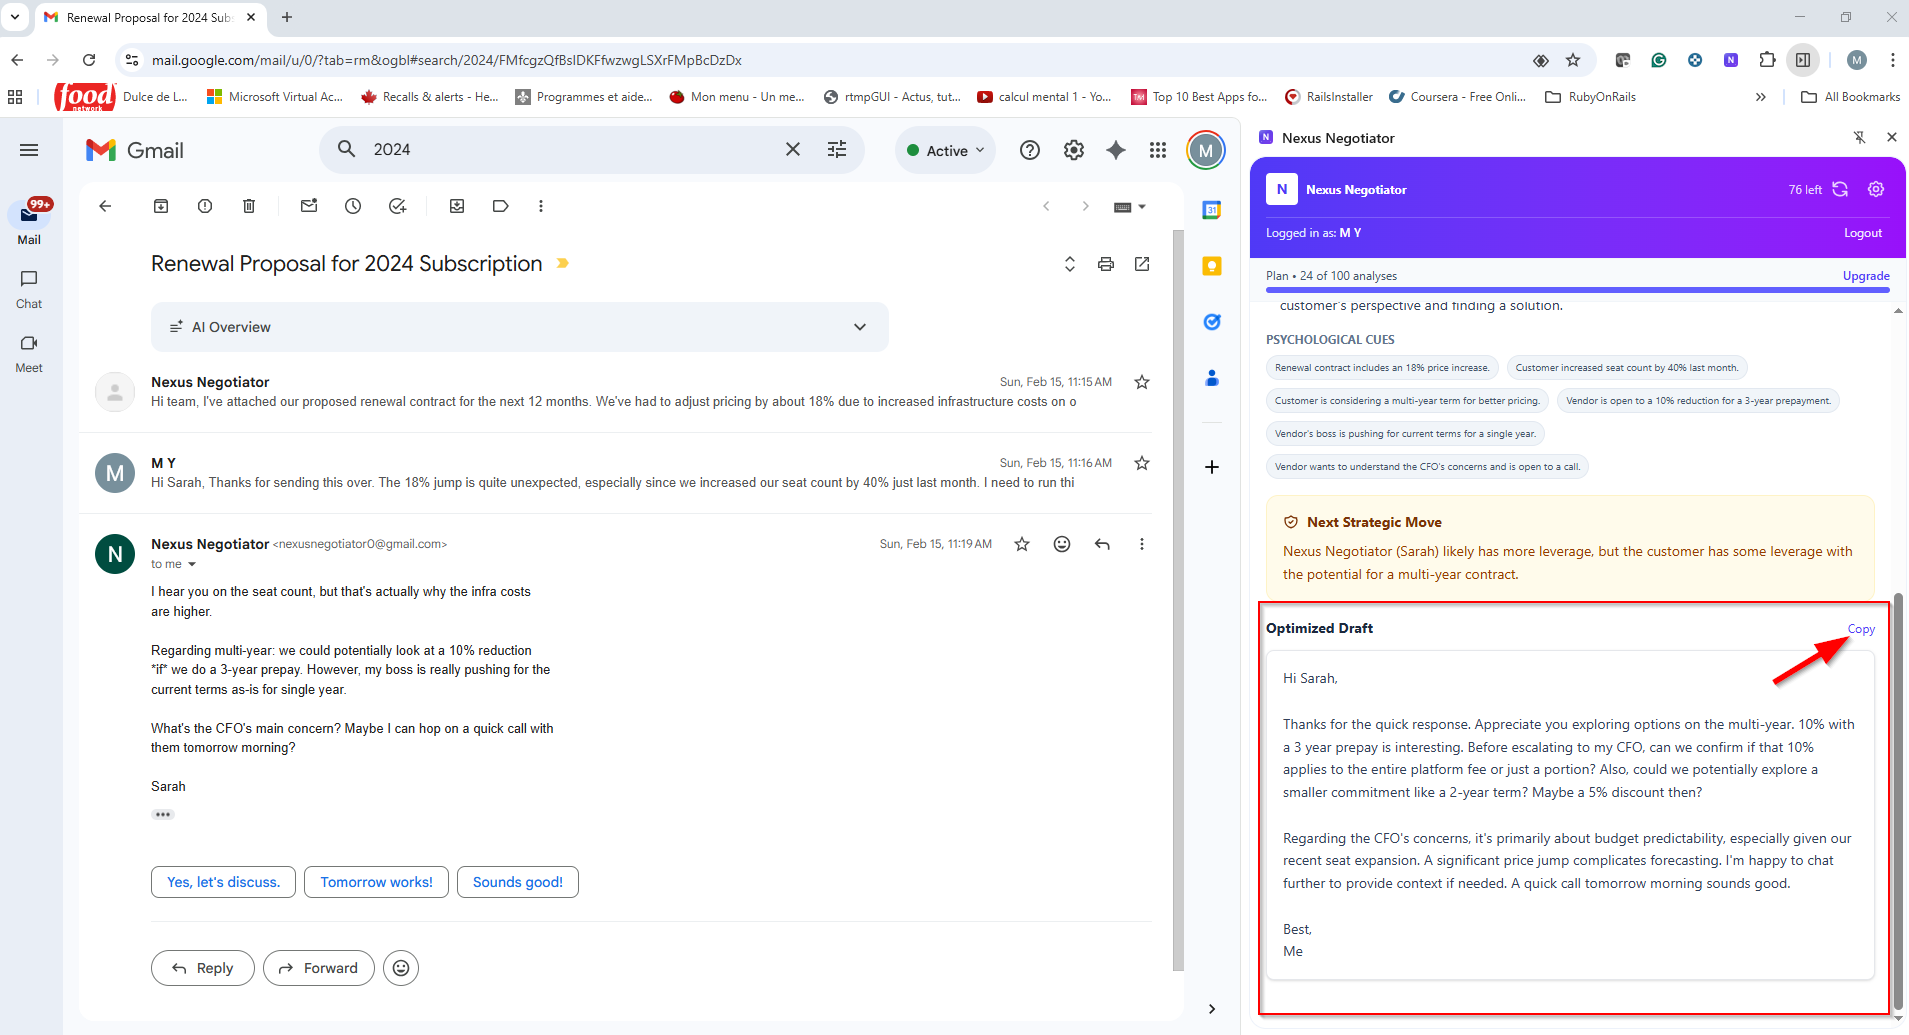
Reading the Results
After analysis, the panel displays a structured negotiation brief:
Leverage Score
Rates your position as High, Medium, or Low based on urgency signals, alternatives mentioned, and power dynamics in the thread.
Hidden Signals
Bullet-point breakdown of subtext — urgency cues, hedging language, false scarcity, concession patterns, and emotional state.
Strategic Recommendation
A plain-English summary of the situation and the specific tactic Nexus recommends you use in your response.
AI Draft Response
A full email draft, written in your chosen negotiation mode, ready to copy into Gmail with one click.

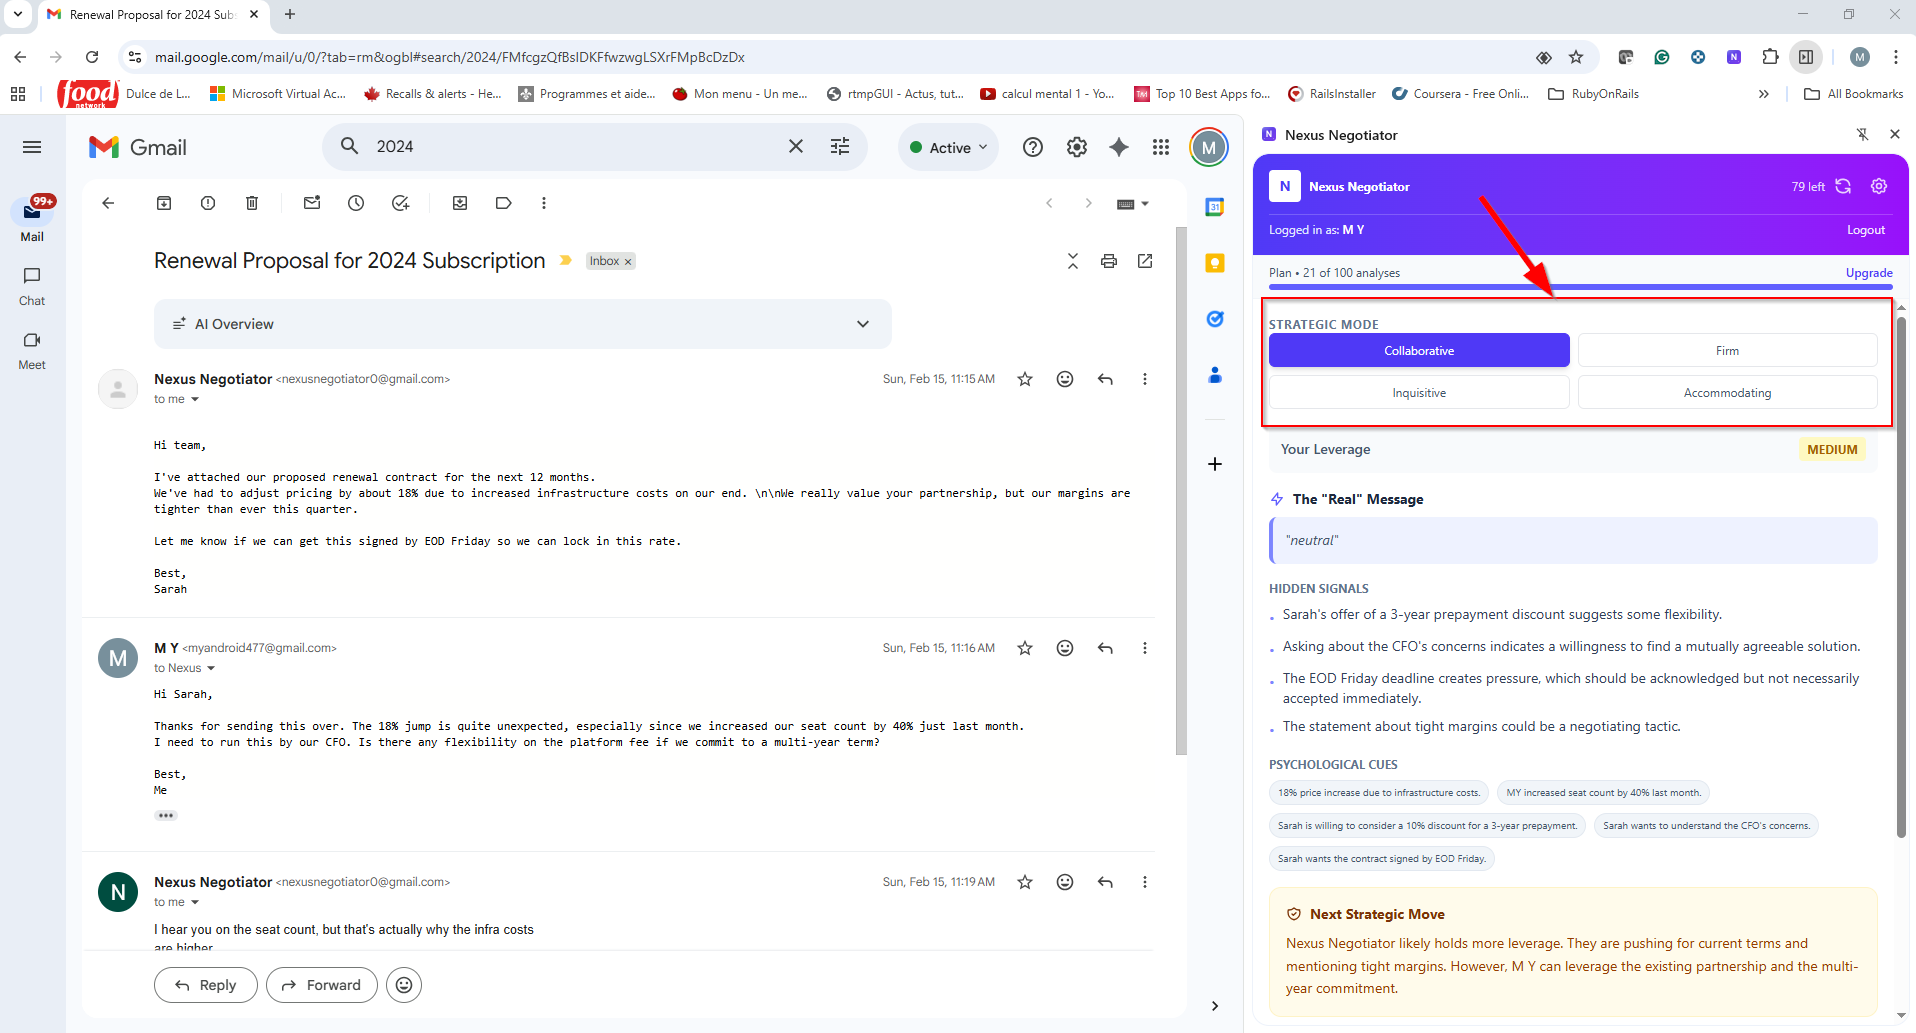
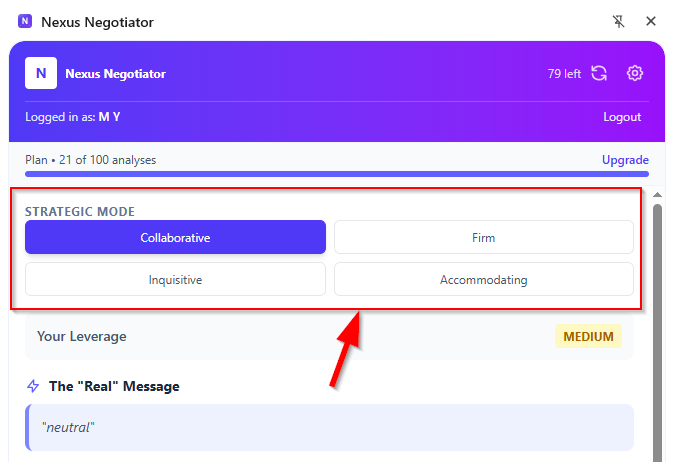
Negotiation Modes
Select a mode before running your analysis to shape the tone and strategy of the AI draft response. You can re-run with a different mode at any time.
Win-win framing for long-term relationships. Focuses on mutual benefit, shared goals, and preserving goodwill.
Best for: Partner negotiations, client relationships, team agreements
Holds your position confidently without being aggressive. Signals you have alternatives and won't overly concede.
Best for: Salary negotiations, vendor pushback, contract terms
Gathers more information before committing. Uses questions to surface the other party's real constraints.
Best for: Early-stage deals, complex situations, when you need more data
Strategically builds goodwill and strengthens the relationship. Useful when the relationship matters more than the outcome.
Best for: Key partnerships, escalated situations, trust-building
Copy the AI Draft
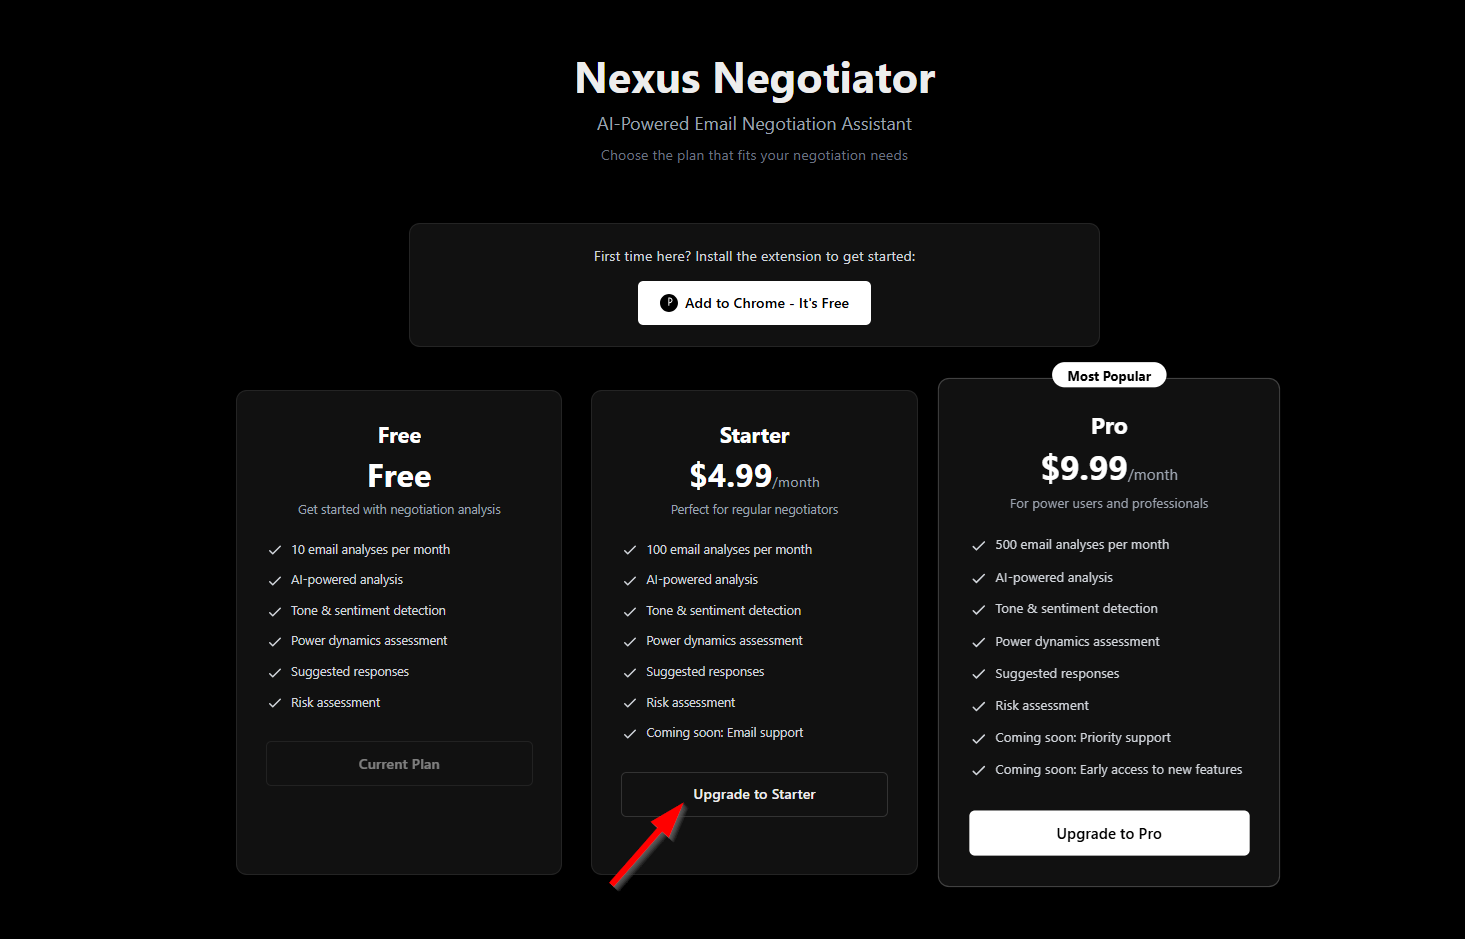
⚡Upgrade Your Plan
Plans Overview
Nexus Negotiator offers three plans. All plans include the full feature set — the difference is in the number of analyses per month.
| Plan | Price | Analyses / Month | Best For |
|---|---|---|---|
| Free | $0/mo | 10 | Trying it out |
| StarterPopular | $4.99/mo | 100 | Regular users |
| Pro | $9.99/mo | 500 | Power users & teams |
How to Upgrade
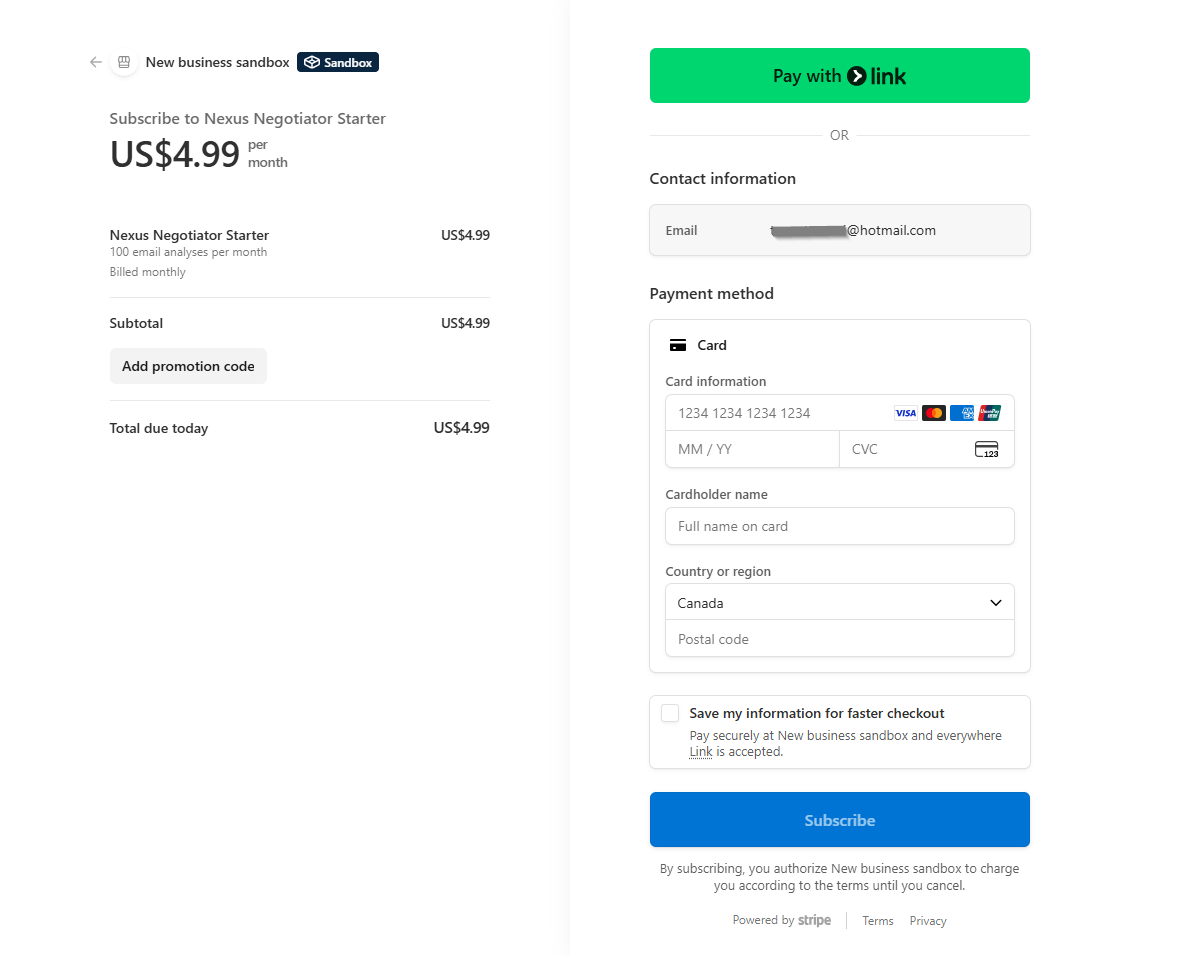
Manage Subscription
You can view, change, or cancel your subscription at any time:
🔑License & Activation
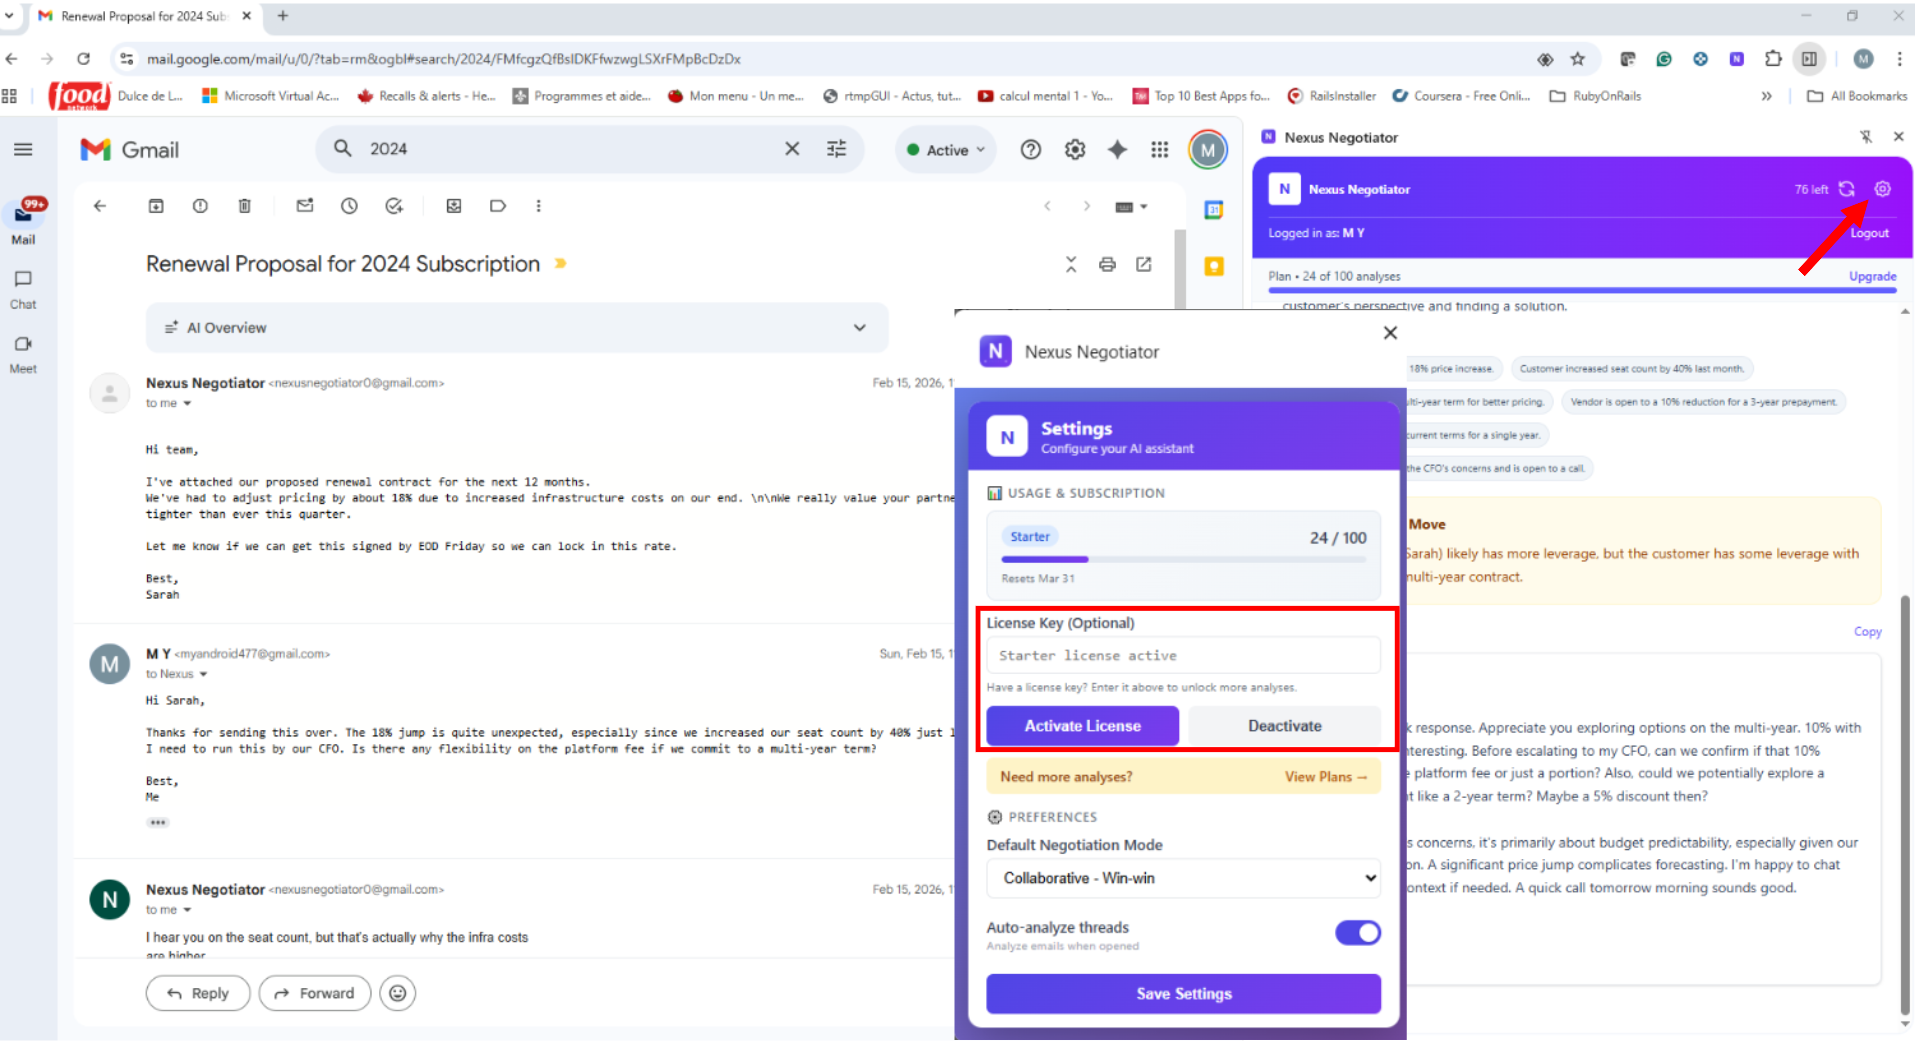
Nexus Negotiator uses Google OAuth for authentication — there is no separate license key to enter for most users. Your subscription is linked directly to your Google account. If you received a license key (e.g., from a promotional campaign or manual purchase), follow the steps below.
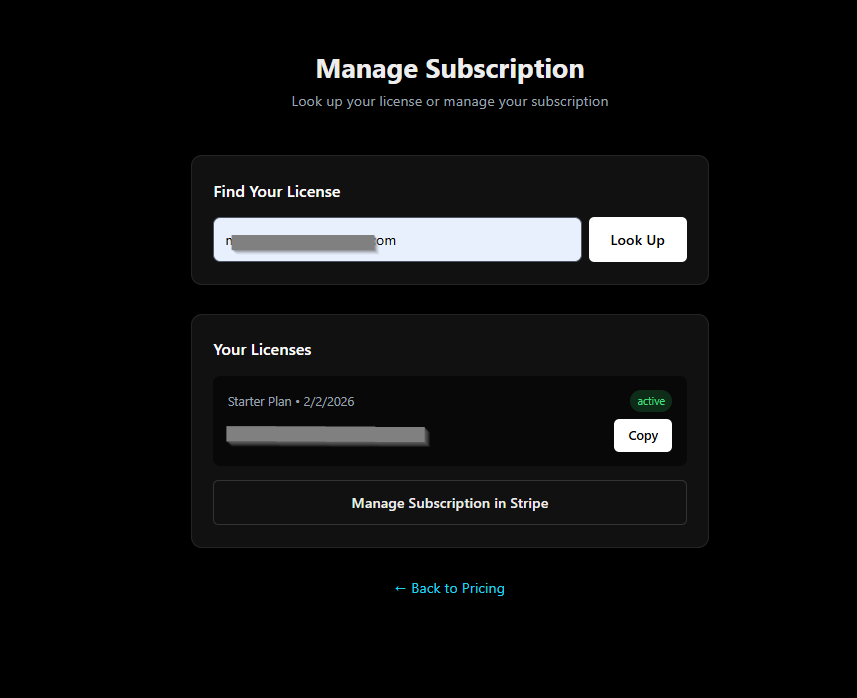
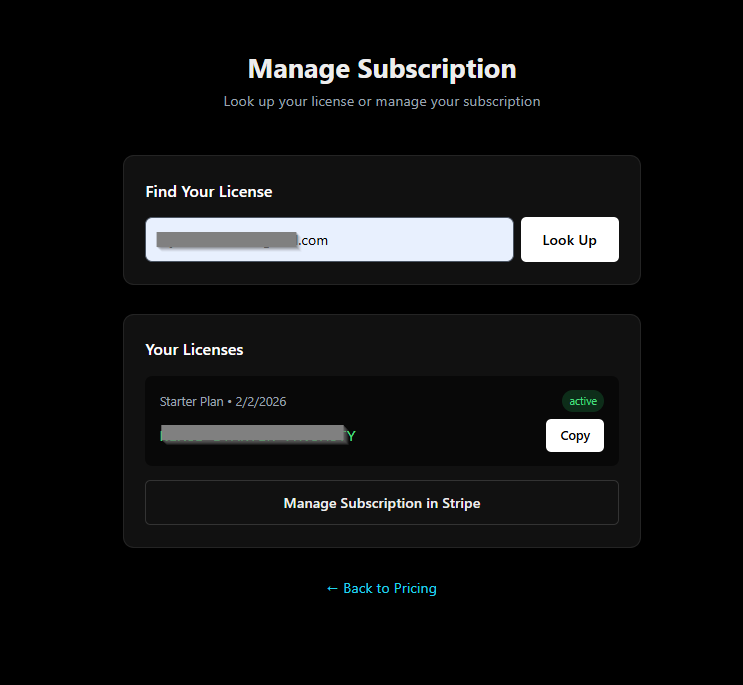
Finding Your License
After a successful purchase, your license details are available in two places:
- Confirmation email — sent to the email address used during checkout, subject line: "Your Nexus Negotiator license".
- Account portal — sign in at nexusnegotiator.com/manage and your active license key is shown under "License Details".
Activating Your License
Transfer to New Device
Because your license is tied to your Google account, switching devices is seamless:
💬Frequently Asked Questions
Is my email data stored on your servers?
No. Email content is sent transiently to Google's Gemini API for real-time analysis and is never written to disk or stored in any database. Only your account metadata (email address, subscription tier, usage count) is stored. See the full Privacy Policy for details.
Does Nexus Negotiator work outside of Gmail?
Currently, Nexus Negotiator is built specifically for Gmail (mail.google.com). Support for Outlook and other email clients is on our roadmap. If you use Outlook, sign up for updates at nexusnegotiator.com.
How do I reset my monthly usage counter?
Usage resets automatically on your billing date each month. If you believe your counter is incorrect, visit nexusnegotiator.com/manage and click 'Refresh Usage' — or contact support@nexusnegotiator.com.
Can I get a refund?
Yes. We offer a 7-day money-back guarantee for all paid plans. Contact support@nexusnegotiator.com within 7 days of your first charge and we'll process a full refund, no questions asked.
Do I need my own Google Gemini API key?
No. Nexus Negotiator uses our shared API infrastructure — you don't need to set up or pay for your own Gemini API key. The per-analysis costs are covered by your subscription.
Does it work offline?
Analysis requires an internet connection to send data to the AI backend. The extension itself loads offline, but clicking 'Analyze Thread' requires connectivity.
Still have questions?
Our support team is here to help. Usually responds within 24 hours.